12/24/2025
Getting Started with Leaderbook
Welcome to Leaderbook. This guide walks you through account creation, your first sign-in, and the basic navigation so you can start capturing and organizing your work right away.
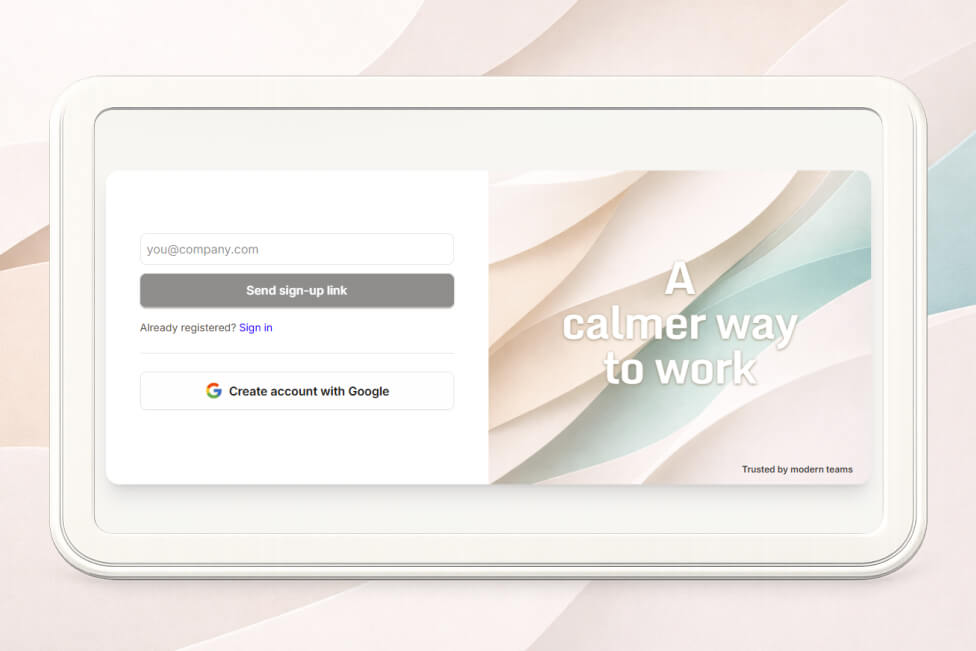
1. Account Creation
Leaderbook uses a simple, low-friction sign-up flow.
Steps
- Open the Leaderbook website.
- Click Create Account.
- Choose one of the available methods:
- Email magic link / verification code
- Google account
- Follow the instructions sent to your email (magic link or 6-digit code).
Notes:
- No password management required when using magic links.
- You can always switch sign-in methods later from settings.
2. First Sign-In
If you used a verification code:
- Enter the 6-digit code on the verification screen.
- You will be redirected automatically after confirmation.
After successful authentication, you are taken directly into your personal workspace.
What happens on first sign-in:
- Your account is initialized.
- A default workspace is created.
- You land in the Focus view.
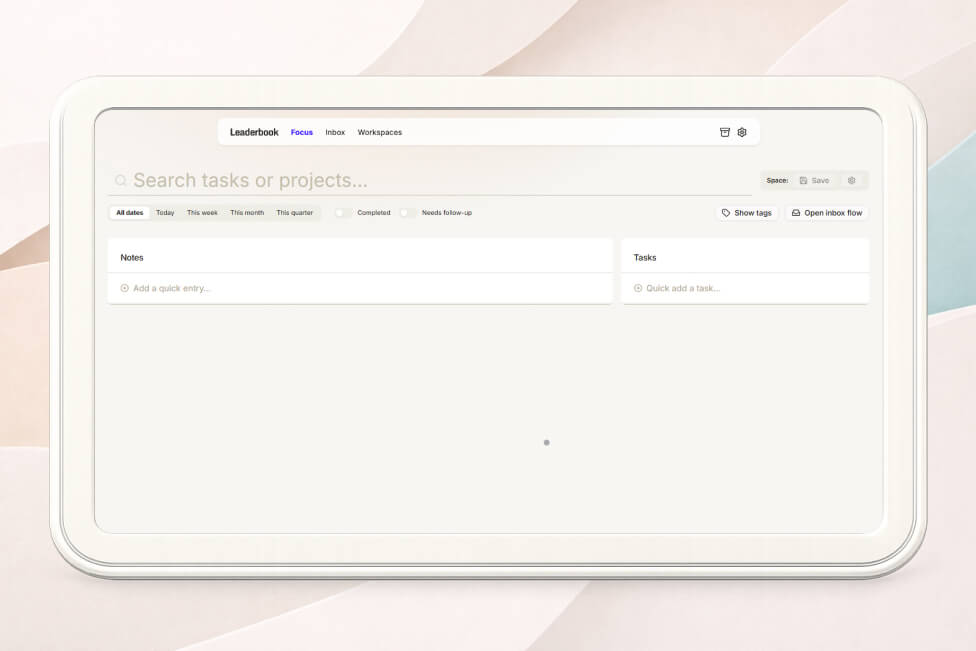
3. Basic Navigation
Leaderbook is intentionally minimal. Everything revolves around capturing, processing, and revisiting work.
Main Areas
Focus View
- Default entry point.
- Shows items you are actively working on.
- Helps reduce noise and keep attention on what matters now.
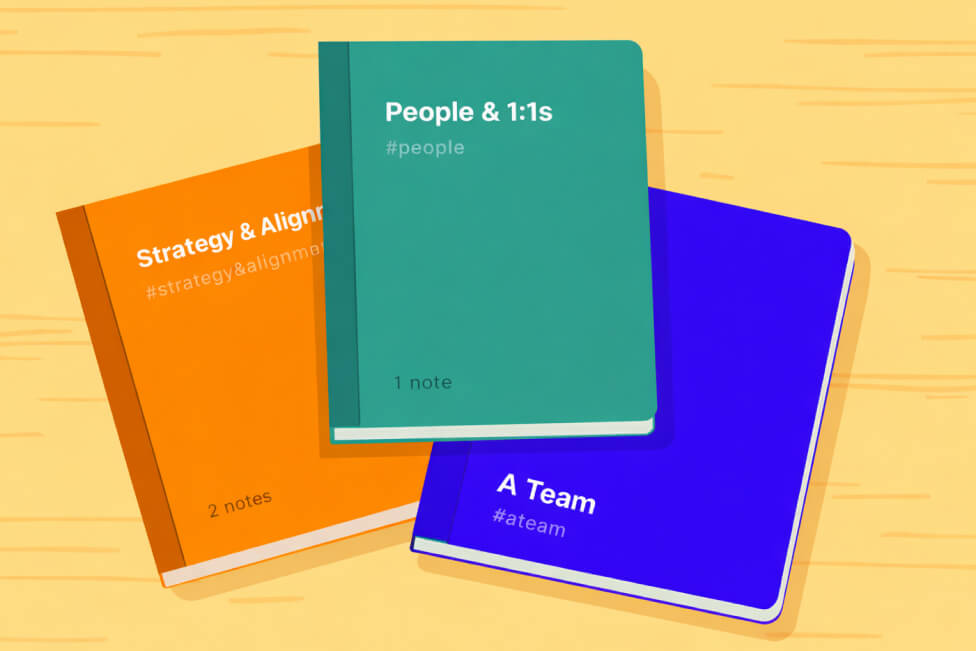
Browse
- Shows notes and tasks across your active notebook.
- Use search and tags to refine what you see.
Archive
- Archived items.
- Keeps history without cluttering active views.
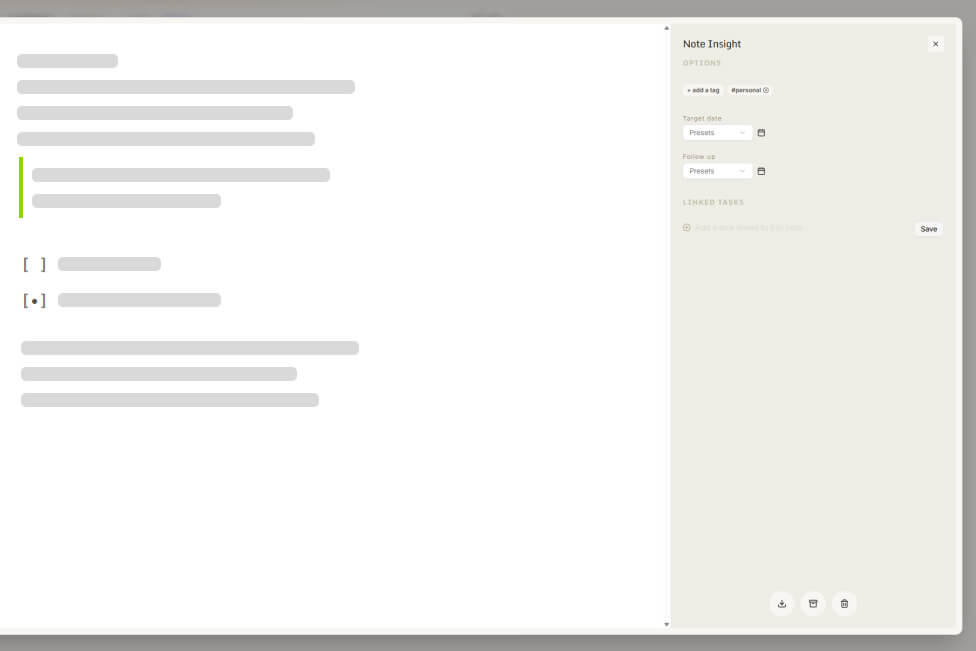
4. Core Actions
From any view, you can:
- Add a new task or note
- Open an item to see details
- Assign tags (#topic) or people (@name)
- Set due dates or follow-ups
- Complete or archive items
5. Next Steps
Once you’re comfortable navigating:
- Start tagging items to build structure.
- Create saved Spaces to bundle filters.
For deeper workflows, continue with:
- Tagging That Actually Works
- Spaces and Saved Views
You’re ready to go. Capture first. Organize later. Stay focused.